
I found this vessel at a thrift store over the weekend, a shape I have been casually looking for for months when I pop into thrift stores from time to time. The piece itself is cast ceramic, and the color wasn’t exactly what I was looking for SO I PLASTERED IT and well, it turned out better than I expected.

My hands got very messy very quickly so forgive me for lack of documentation but the process is really quite straight forward.
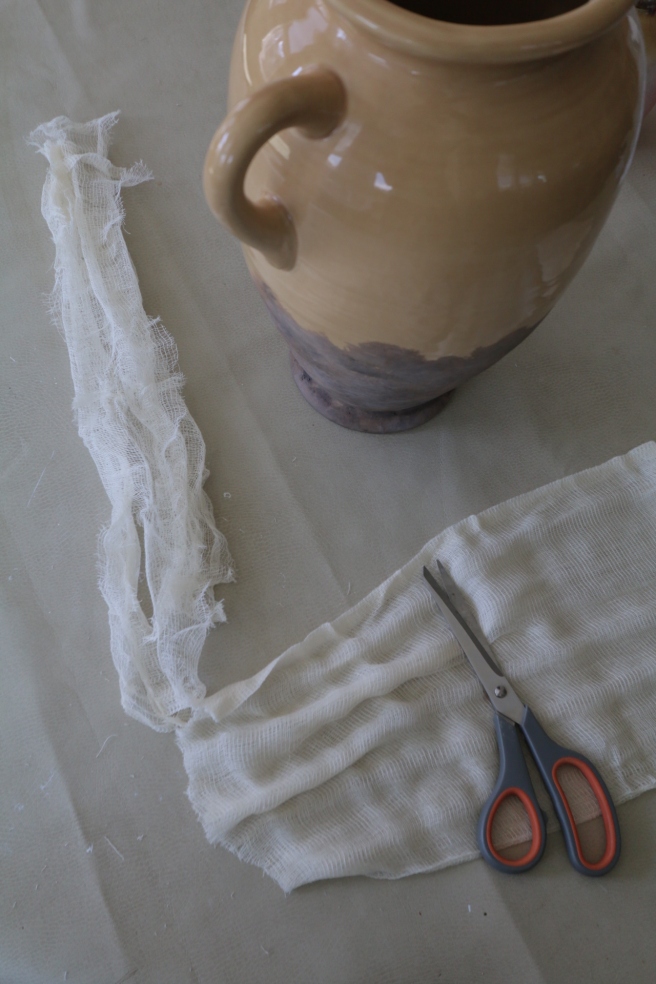
You’ll only need a few things:
A vase, pot, vessel of some kind
Cheesecloth (this comes in undyed and white and I went with the natural color of the undyed variety
Plaster of Paris
Paint if you’d like to tint the plaster: I used Sofisticata by Behr
A mixing bowl and glass that you wouldn’t mind making a mess of
Stir stick / spatula
scissors


Start by cutting your cheesecloth into strips: I made my first batch a little too thin. If they are too thin they’ll become even thinner and really stringy when working with the plaster.
Next make your plaster and paint mixture. Plaster of Paris is 2 parts plaster, 1 part water and I just eyed it using a drinking glass. instead of 1 part water, I did 1/2 water, 1/2 paint to tint the plaster: note that you’ll want to choose a color way deeper than the intended result. The plaster lightens it quite a bit and makes a chalk paint. I do like the color I ended up with but yes, it was much lighter than intended.

I dipped my hands in the mixture and smoothed it onto the surface, working from top to bottom. This first layer is kind of like the glue for the cheesecloth. Start laying the cheesecloth on top, again working from top to bottom. You can overlap it, make it as messy of an application as you’d like, this is what gives it the texture. Then you’ll want to smear another thin coat of plaster on top of the cheesecloth to be sure the entirety of the cloth is covered in plaster, smoothing it out as you go to desired texture.
Let this dry outside on a warm day for a couple hours or overnight inside. You’ll see that the cheesecloth texture still comes through quite a bit when dried and you’ll need to do another coat.

sand it down a bit 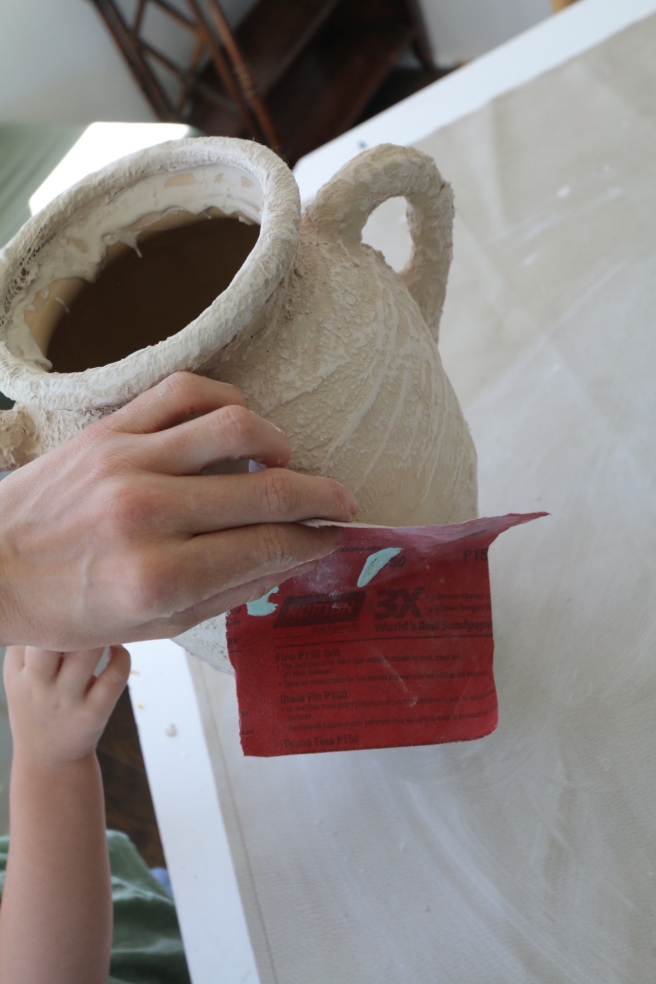
make another batch of the plaster mixture and put another thick coat on top using your hands to smear it on. No cheesecloth necessary at this point; we’re covering that texture. The second coat will do the trick and give you the look you want and will dry fairly quickly as well.
Let this dry overnight to be sure it cures. At this point you can sand it down to give you that chalky plaster look if you wanted otherwise it’s all done!
And then I made it into a lamp, that tutorial coming up next!
Luvs, Lindy


This is such a beautiful simple ideas! I love it!
LikeLike